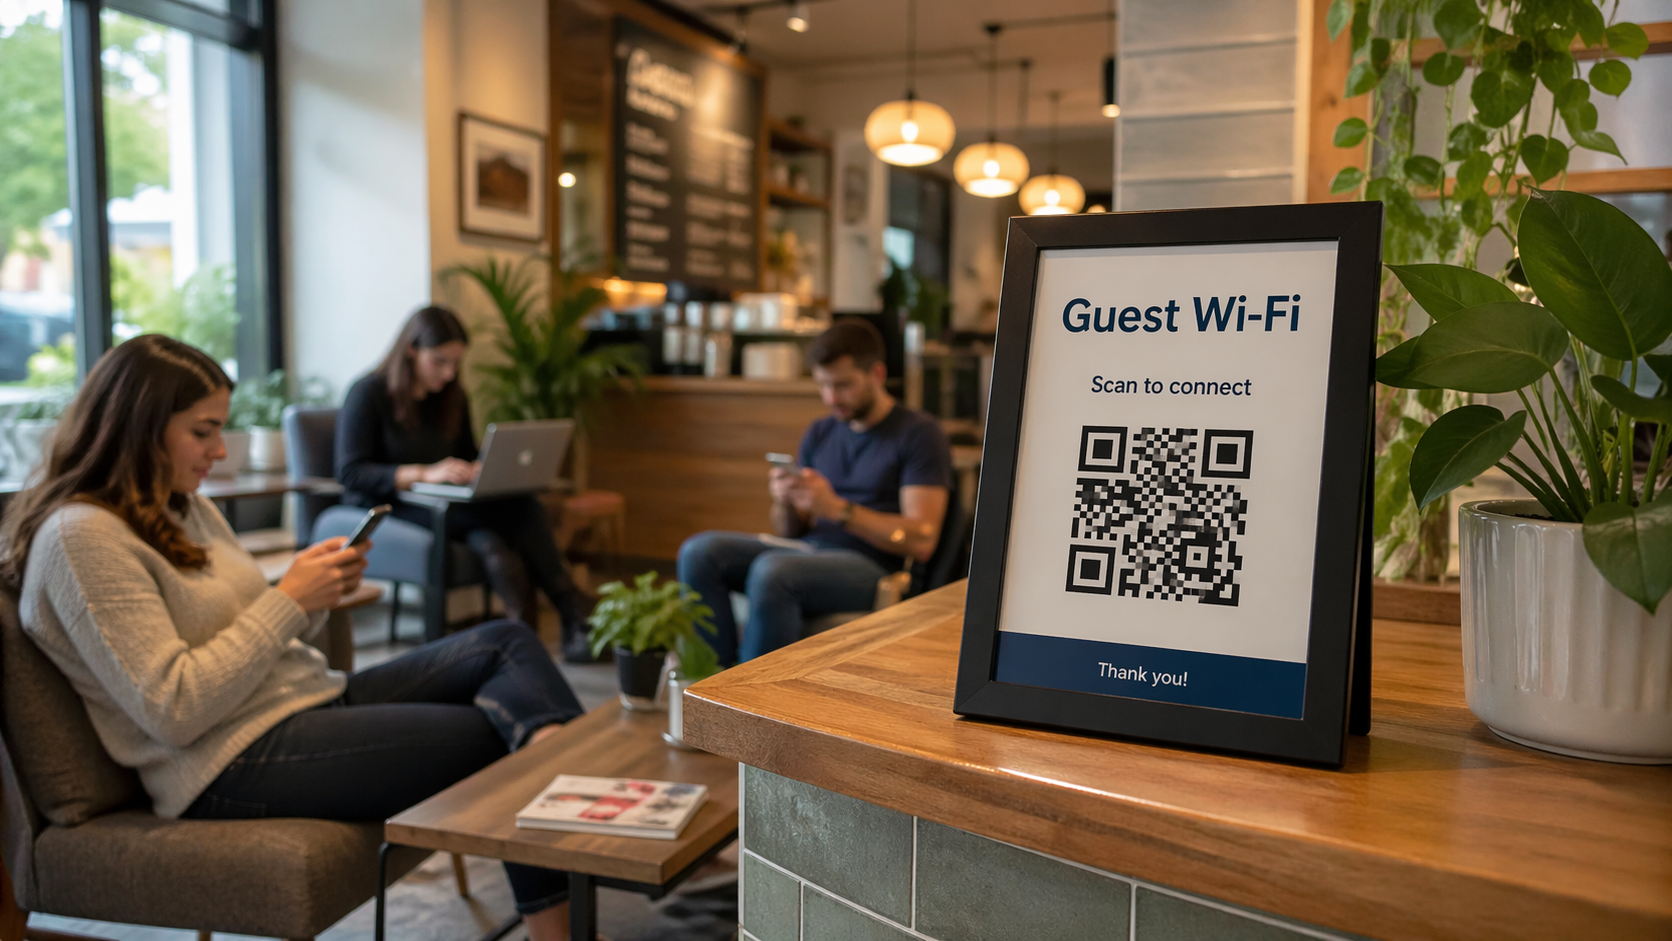
Start with the right QR from your router settings
Before you print anything, generate the QR from the SSID, security type, and password you really use on the guest network. A mismatch between the sign and the router is the most common reason scans fail.
Use the Wi‑Fi QR tool to build the image, then scan it yourself on at least one iPhone and one Android device while standing where customers will stand.
Size and quiet zone
For counter and table signs, aim for a printed code roughly 1.5–2 inches (about 4–5 cm) on a side as a starting point, with white margin around the modules—not edge-to-edge on busy backgrounds.
If guests may scan from farther away (a wall behind a couch in a waiting room), go larger and test from that distance under your normal lighting.
Contrast and finish
Dark modules on a matte white background usually outperform tinted plastics or glossy lamination that catches glare. If you must laminate, try a matte pouch or place the sign where lights do not bounce straight into the camera.
Outdoor or coffee-splashed counters benefit from sealed signs, but keep the surface as non-reflective as you can.
Height, angle, and copy
Mount signs near eye level when people are already pausing—reception, pick-up counters, or table tents in the natural line of sight. Pair the QR with a short label like Guest Wi‑Fi so the intent is obvious.
Avoid tucking the code down near knee height or flat on a shiny table unless you have tested scans there.
When to reprint
Any password, network name, or security-type change means a new QR. Keep a spare unlaminated test print to verify before you commit to a full batch.
Next step: Regenerate your code in the Wi‑Fi QR tool after any network change, then print one proof before your final run.
For broader placement and guest-network habits, read how to use a Wi‑Fi QR code in your business. If you also serve food, menu QR codes without annoying guests pairs well with the same signage discipline.